.webp?width=200&height=112&name=Shiftwave-white-text%20(1).webp)
Welcome to Shiftwave!
This guide walks you through everything included in your box and the steps to set up your Shiftwave system with the Control Box.
What’s in the Box
When you open your Shiftwave package, you’ll find everything you need to get started:
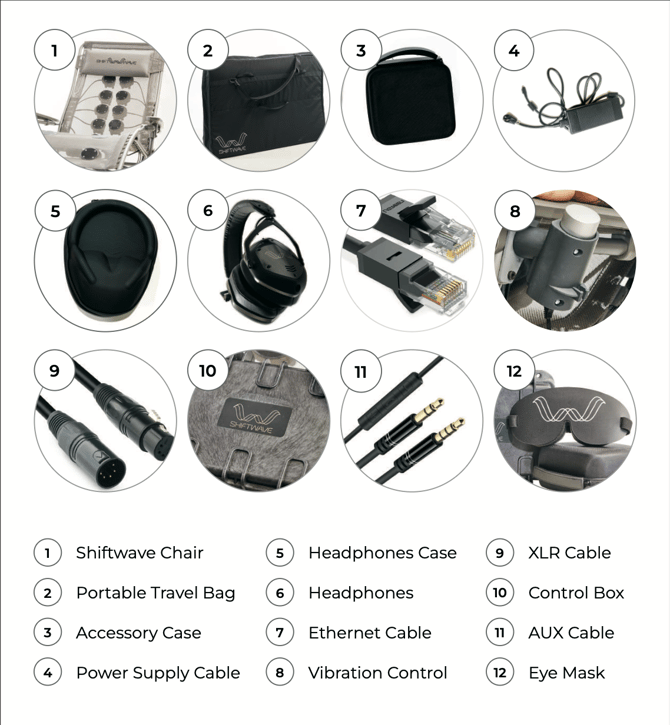
Step 1: Unfold the Chair
Unfold your Shiftwave chair and place it on a flat, stable surface.
Make sure there’s enough space for the chair to recline fully.
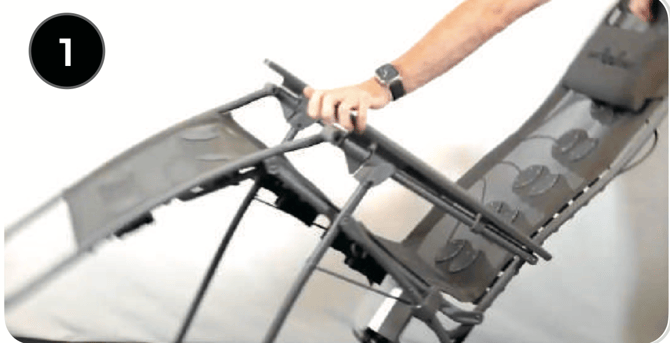
Step 2: Connect Power to the Chair
Plug the power supply cable into the port on the box under the chair.
The flat side of the connector should face up before insertion.
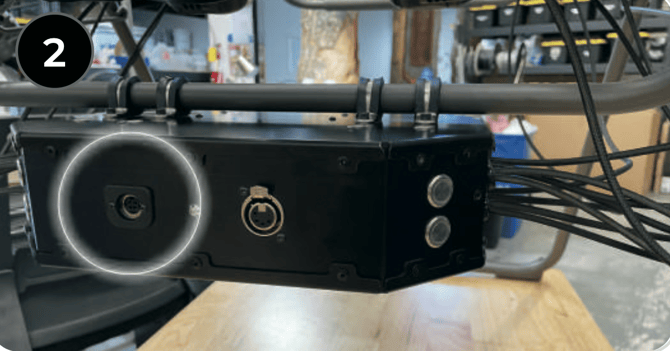
Step 3: Connect the XLR Cable
- Plug one end of the XLR cable into the round port on the box under the chair (notch facing up).
- You should hear and feel a click when the XLR cable is fully connected
- Plug the other end into the left port on the Control Box.
This connection powers and syncs your chair’s vibration system.
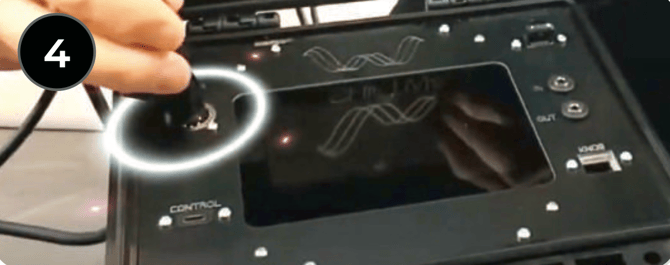
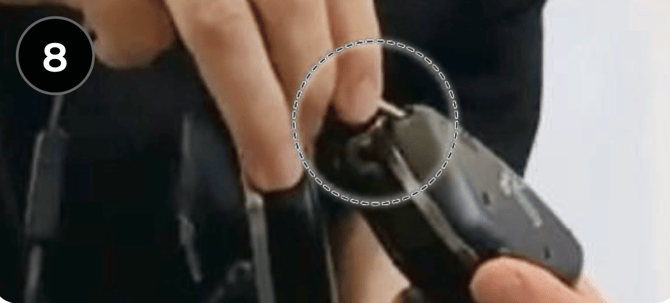
Step 4: Connect the Control Knob
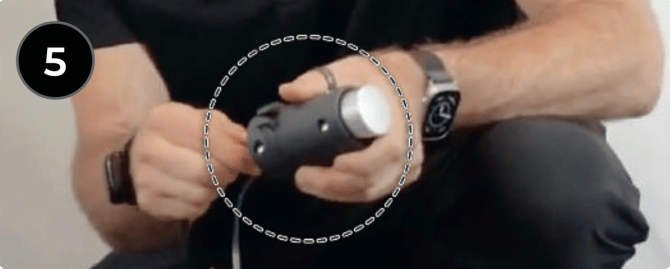
- Plug one end of the Ethernet cable into the bottom of the control knob.
- Plug the other end into the bottom-right port on the Control Box.
- Mount the control knob on the armrest, it attaches magnetically and pivots for easy adjustment.
- You can mount the control knob to either the left, or right armrest

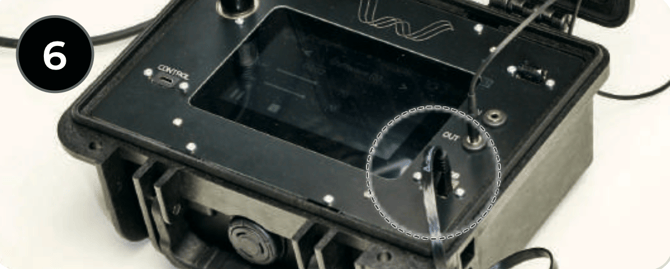
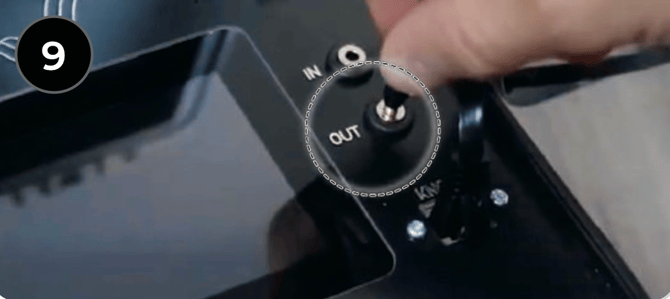
Step 5: Connect Headphones
- Plug one end of the AUX cable into your headphones.
- The inline volume control should be closer to the headphones.
- Plug the other end into the “Out” port on the Control Box.
Step 6: Power On
After all cables are securely connected:
- Plug the Control Box power cable into a wall outlet.
- Press the Power button to turn it on.
The screen will light up, and your system is ready for your first session.
Need Help?
If your system doesn’t power on or a component isn’t responding:
- Double-check each cable connection (especially the XLR and power cables).
- Make sure the power outlet is active.
- Check out our troubleshooting articles.
- Contact Shiftwave Support for setup assistance.